Interior Design: Beautiful Concrete Stencil Designs
Interior Design DIY: A overview of how to stencil concrete
------------------------------------------
Interior Design: Beautiful Concrete Stencil Designs
A few weeks ago I wrote about the beautiful homes in Mexico that had intricate molding and wainscoting that was actually painted (dyed) concrete. It was so amazing it really looked like the real thing - talk about some serious craftsmanship!
When I had some time to really think about it I realized that concrete is a fantastic idea for renovations (especially if you live in warm climates)! Concrete is earth and budget friendly and can make your home really dazzle and pop. It does require a little maintenance in the long run (as most things do), but overall it is a really affordable and easy to manage.
Stencils are made out of a heavy duty material and can come pre-designed or custom designed. If you Google concrete stencils many companies come up - always follow their instructions or have a licensed professional install it for you.
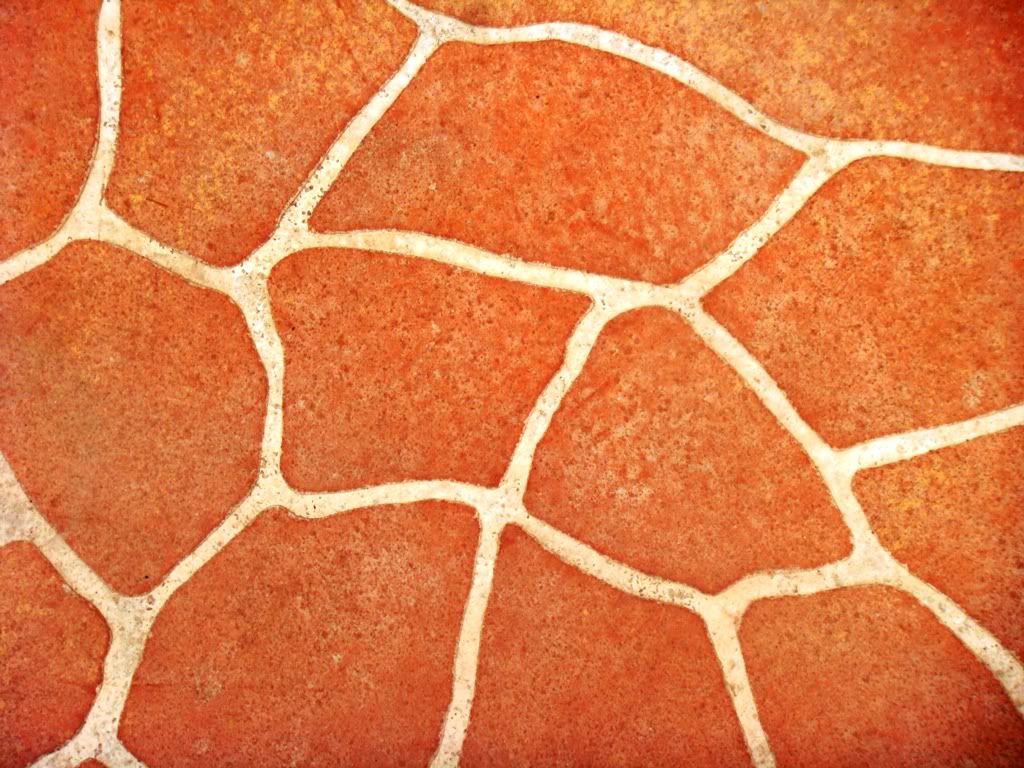
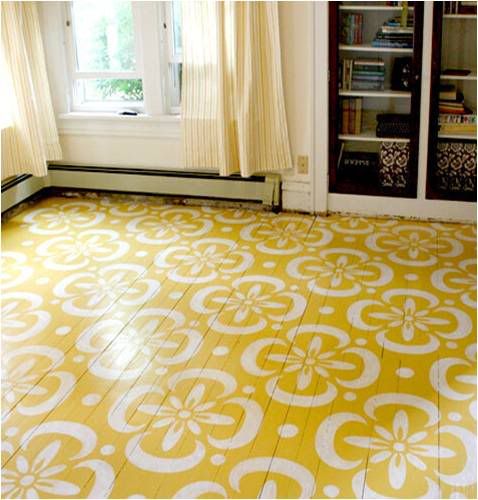
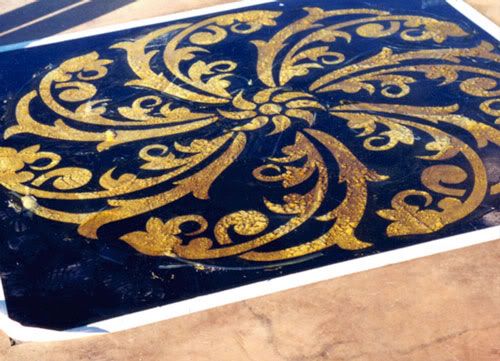
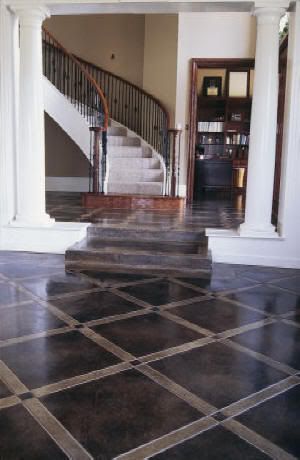
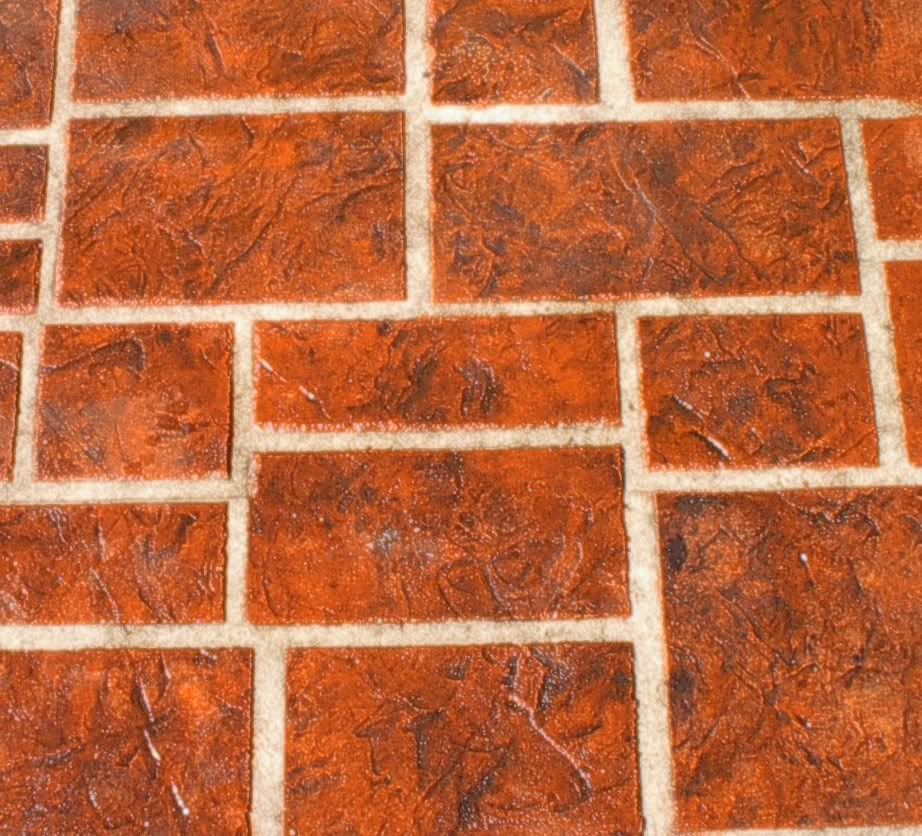
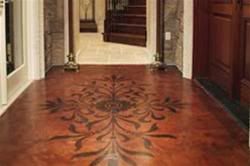
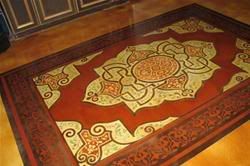
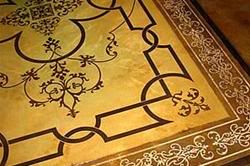
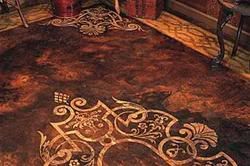
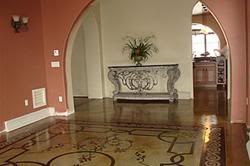
My favorite thing about concrete stencils is that they come in a lot of designs. They have some stencils that look like traditional materials such as brick or tile (think about your backyard concrete patio, now imagine if it was brick instead....wouldn't it look much nicer!) or they come as more decorative stencils that look like oriental rugs or wood flooring inlaid with tiles.
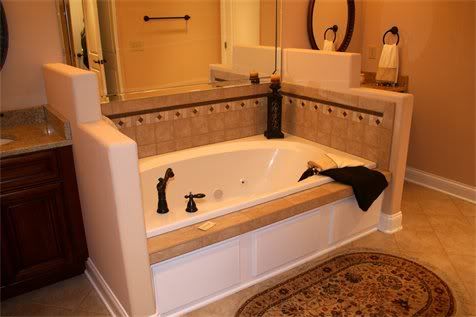
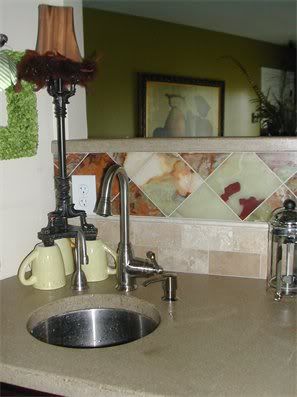
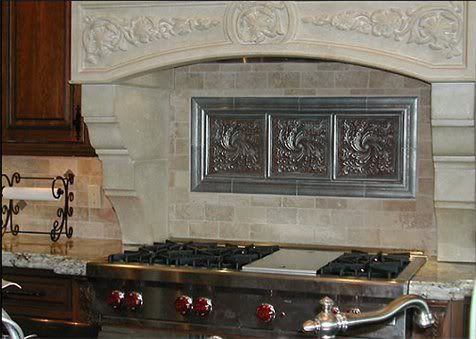
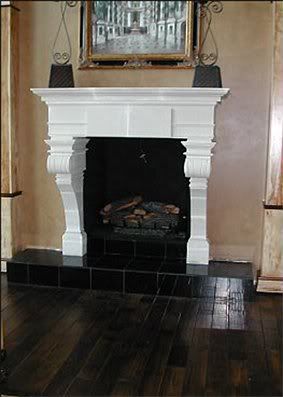
Here are some great examples and feel free to read more about concrete design at the Concrete Network: (and yes, I promise, all of these images are stenciled concrete!)
------------------------------------------------------
Interior Design DIY: A overview of how to stencil concrete
If you are interested in learning more about the process of concrete stenciling, or if you are interested in trying it yourself, here are step-by-step instructions - but always follow instructions from the company you bought your stencil from or consult a licensed contractor!
Things You'll Need:
* bullfloat
* stencil roller
* concrete edger
* scissors
* concrete saw
* power washer
Step 1 - Applying the stencils - After you pour the concrete, float and edge the slab in the usual manner and then place the stencils on the surface while the concrete is still wet but free of excessive bleed water. Placement requires two people, with one person holding the stencil roll while the other person holds the uncoiled end on the opposite side of the slab. Once the stencil is laid down atop the slab, it's plastered to the surface with a special stencil roller.
Step 2 - The stencil is placed and worked one strip at a time. Because the stencils are die cut, the strips must be aligned in a specific manner to ensure pattern continuity, similar to aligning strips of patterned wallpaper. After the entire slab is covered, you use a pair of scissors to trim the stencil to about 1/8 inch inside the form boards (this allows for the stencil to swell a bit). A bull float(a flat smooth float for smoothing concrete) is then used to stick down the edges.
Step 3 - Adding color -The next step is to hand spread color hardener onto the surface (at the manufacturer's recommended rate) and work it into the slab with a bullfloat. This process is best done immediately after stencil application, while the concrete surface still has enough moisture to be absorbed by the hardener.
Step 4 - With stone or brick stencil patterns, the use of a texture roller or seamless texture skins will give the surface a more realistic, slightly roughened profile. With tile patterns, there is no need to texture the slab, Instead, a trowel can be used to smooth over any imperfections.
Before texturing, a liquid or powdered antiquing release agent is applied to the surface. When the slab is firm enough to accept the roller's weight and still wet enough to receive the texture, you can begin to go over the slab with the roller. Where the roller creates depressions in the surface, the pigment leaves shadows that look like natural color variations. Manufacturers offer rollers with different textures to allow contractors to produce a variety of decorative effects.
Step 5 - As soon as the slab has been textured, it's time to remove the stencils. The last piece of stencil laid is removed first, with a person standing on either side of the slab and lifting the stencil straight up from the ends. After the stencil is completely clear of the surface, it's carried off to the side and disposed of.
Step 6 - The day after you pour, you can clean off the release agent, saw cut the control joints and seal the slab surface.
The next day, the release agent is swept from the slab.
Than you thoroughly clean the slab with a pressure washer
Saw crack control joints in larger areas such as driveways and patios
Apply concrete sealer and voila your beautiful finished product
How-to compliments of: e-How.com
Saturday, January 30, 2010
Thursday, January 28, 2010
Beautiful Custom Tile Work and Stunning Historic Homes
Business Spotlight: Stonecraft, custom high end tile design and installation
Interior Design: Historic Homes
-------------------------------------------------
One of my favorite things to do is seek out smaller local businesses and bring them into the spotlight as much as possible. Being a real estate agent and interior designer I think finding good craftsmen is an absolute top priority - you have to have the best working on your home.
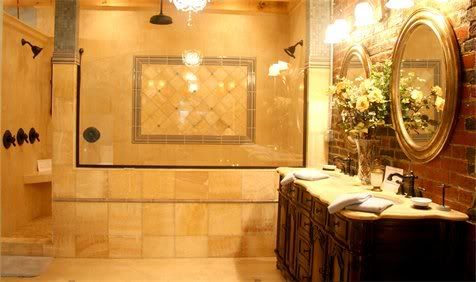
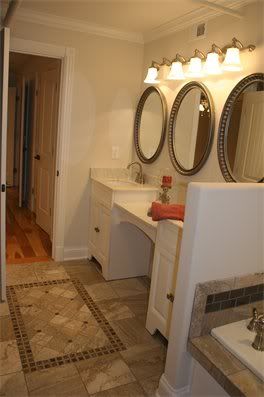
When it comes to tile and stone installation for your home no one does it better than Shea Terry and his expert team at Stonecraft (Franklin, TN) - and if you don't believe me just ask his clients. For 10 years now Stonecraft has designed and installed stunning custom stone and tile work in bathrooms, foyers, living rooms, and just about every place you can imagine it going in a home all.
One thing that really stands out about Stonecraft is their client enthusiasm and praise. Shea Terry and his team have been called honest, hard working, and very knowledgable about custom tile and stone work.
And I really just can't say enough about their custom designs - absolutely beautiful. Just check out these gorgeous interiors Stonecraft has done and then if you are thinking about some remodeling....definitely give them a call or visit them online at: Stonecraft because the work they do can really bring the value of your home up, up, up!
-----------------------------------------------------------
Interior Design: Historic Homes
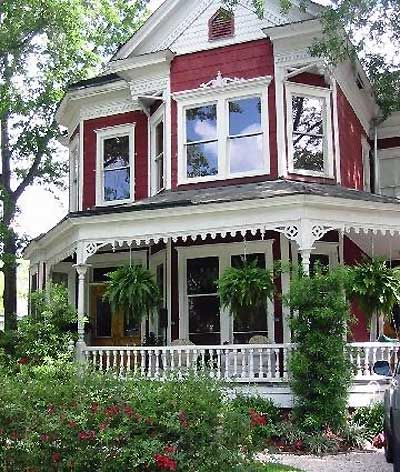
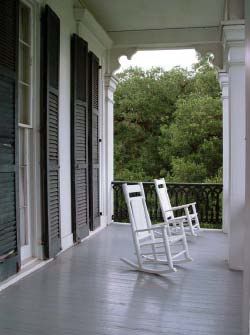
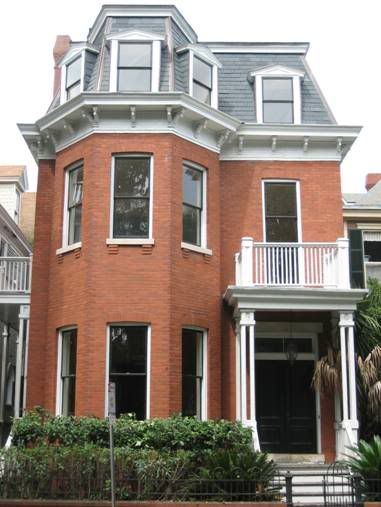
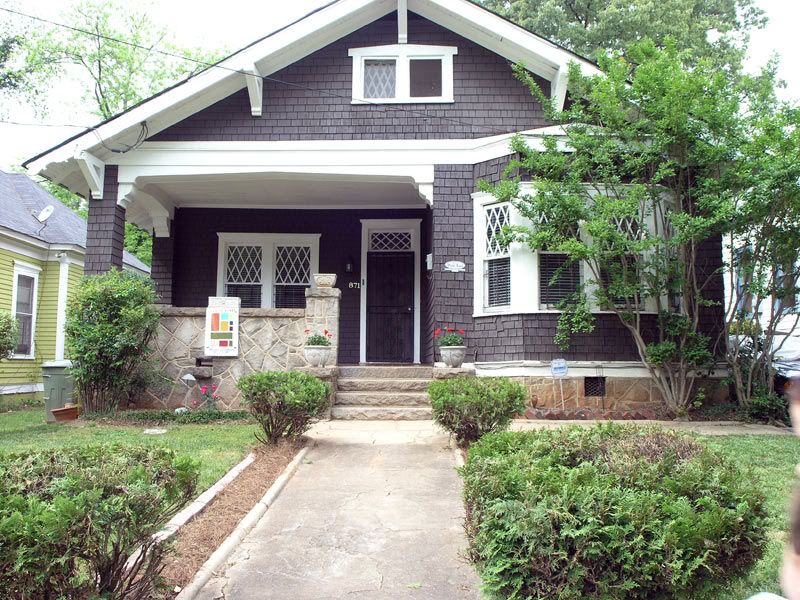
So I know just a few weeks ago I did a posting about southern plantation homes. But I have a confession: I can't get enough of historic homes. In a perfect world I would do nothing but locate, purchase, rennovate and preserve historic homes. Why?? Without a doubt it is because homes now are just not made the way historic homes were/are. Homes today lack quality, endurance and details.
The high ceilings, fireplaces, hardwoods, huge foyers, custom bannisters, *huge* plantation windows and shutters.....I can't put my excitement and joy into words! But I will share some photos and hope they inspire you as much as they inspire me:
Interior Design: Historic Homes
-------------------------------------------------
One of my favorite things to do is seek out smaller local businesses and bring them into the spotlight as much as possible. Being a real estate agent and interior designer I think finding good craftsmen is an absolute top priority - you have to have the best working on your home.
When it comes to tile and stone installation for your home no one does it better than Shea Terry and his expert team at Stonecraft (Franklin, TN) - and if you don't believe me just ask his clients. For 10 years now Stonecraft has designed and installed stunning custom stone and tile work in bathrooms, foyers, living rooms, and just about every place you can imagine it going in a home all.
One thing that really stands out about Stonecraft is their client enthusiasm and praise. Shea Terry and his team have been called honest, hard working, and very knowledgable about custom tile and stone work.
And I really just can't say enough about their custom designs - absolutely beautiful. Just check out these gorgeous interiors Stonecraft has done and then if you are thinking about some remodeling....definitely give them a call or visit them online at: Stonecraft because the work they do can really bring the value of your home up, up, up!
-----------------------------------------------------------
Interior Design: Historic Homes
So I know just a few weeks ago I did a posting about southern plantation homes. But I have a confession: I can't get enough of historic homes. In a perfect world I would do nothing but locate, purchase, rennovate and preserve historic homes. Why?? Without a doubt it is because homes now are just not made the way historic homes were/are. Homes today lack quality, endurance and details.
The high ceilings, fireplaces, hardwoods, huge foyers, custom bannisters, *huge* plantation windows and shutters.....I can't put my excitement and joy into words! But I will share some photos and hope they inspire you as much as they inspire me:
Labels:
decor,
design,
home improvements,
home staging,
interior design,
London,
real estate,
southern,
uk
Wednesday, January 27, 2010
Gorgeous Custom Colored Books Make Great Accents...check them out!
Interior Room Spotlight: The Front Room
Interior Design: Why Not Custom Colored Books?
--------------------------------------------------------------
Interior Room Spotlight: The Living Room
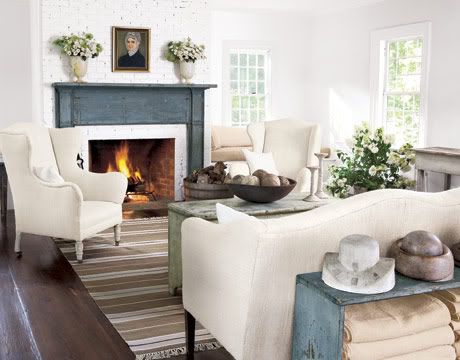
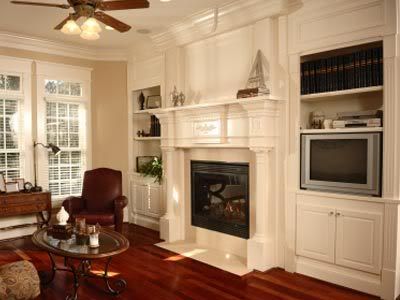
I came across these rooms today and thought they were just lovely! I love the use of neutral colors and natural elements and the way the rooms come together in just a perfect, cozy way.
---------------------------------------------------------------
Interior Design: Why Not Custom Colored Books?
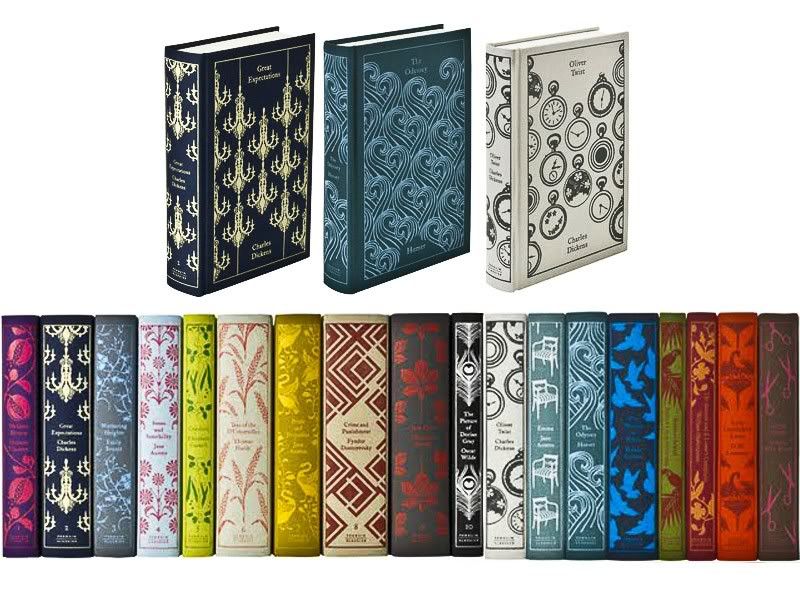
So what items would you put in rooms, such as the ones featured above, that would add color and texture without overpowering the neutral tone to the room??
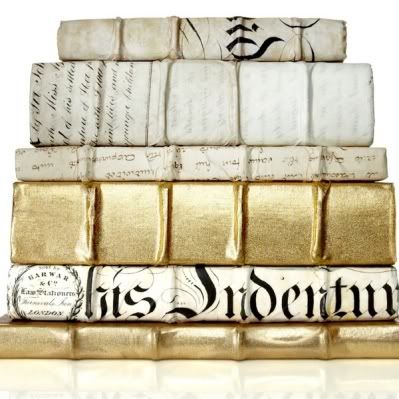
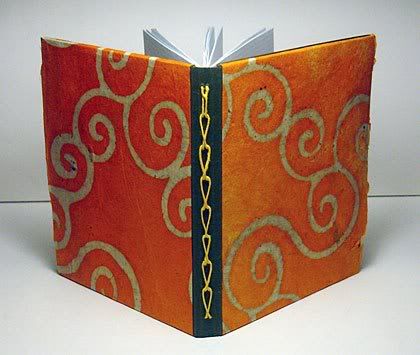
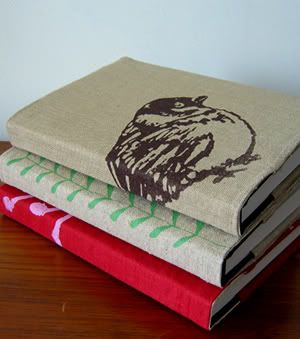
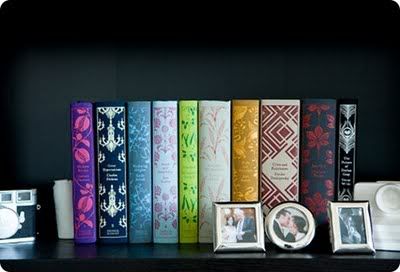
How about using custom covered and wildly colored books. I keep coming across these limited edition classics everywhere I go. They can add a little flash to your shelving or make really great hostess gifts....either way they are absolutely divine and very inspirational! (You can get these at your local bookstore and/or online at bn.com or amazon.com)!
Très chic!!
Interior Design: Why Not Custom Colored Books?
--------------------------------------------------------------
Interior Room Spotlight: The Living Room
I came across these rooms today and thought they were just lovely! I love the use of neutral colors and natural elements and the way the rooms come together in just a perfect, cozy way.
Interior Design: Why Not Custom Colored Books?
So what items would you put in rooms, such as the ones featured above, that would add color and texture without overpowering the neutral tone to the room??
How about using custom covered and wildly colored books. I keep coming across these limited edition classics everywhere I go. They can add a little flash to your shelving or make really great hostess gifts....either way they are absolutely divine and very inspirational! (You can get these at your local bookstore and/or online at bn.com or amazon.com)!
Labels:
design,
home improvements,
home staging,
interior design,
living room,
London,
real estate,
uk
Tuesday, January 26, 2010
Gorgeous Master Bedrooms and Great Design Ideas
Interior Design: Master Bedrooms
-----------------------------------------------------
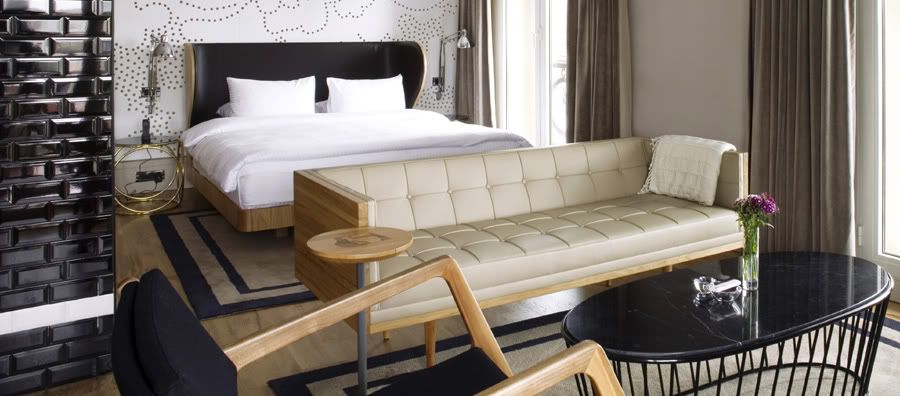
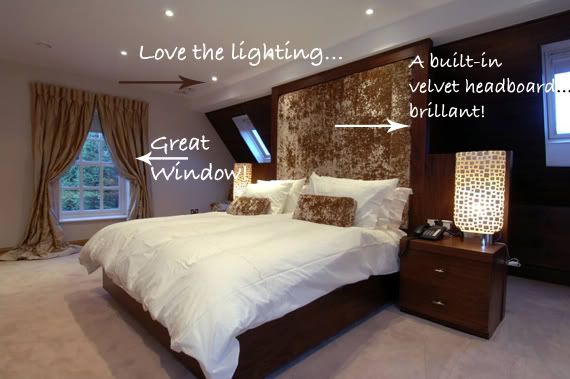
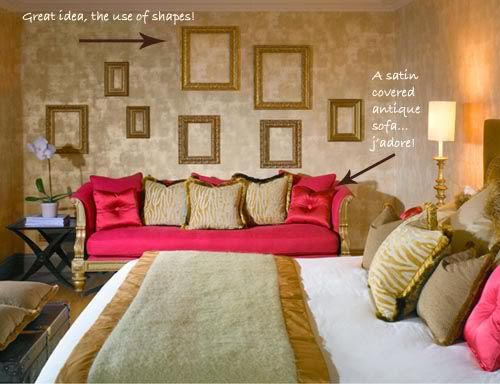
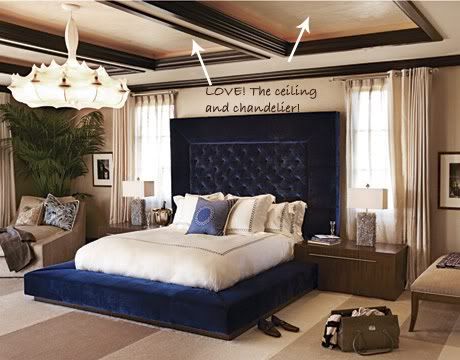
The master bedroom is a very important room in the house. It's a place to escape, relax, and be yourself. As a real estate agent I can tell you homebuyers are looking for large spacious master bedrooms, with walk-in closets and a full en suite bathroom (with whirlpool tub and shower).
If you are thinking about renovating your master bedroom you may want to think about a few things that will not only help you make a return on the investment but also help you sell your home quickly.
It is a buyers market in real estate right now, and looks to stay that way for a while. If you are looking to sell your home in the next 5-8 years definitely think of improvements that will last.
Homebuyers are always looking for energy saving features and cutting edge technology in addition to the large room and en suite bathroom. If you have a master bathroom, or are adding one on, make sure to use energy saving toilets, sinks, showerheads, etc. If you live in a colder climate you may want to also consider putting down heated tiles in the bathroom. You might even want to look into features such as a hidden TV behind the mirror or stain glass windows above the tub to help your home stand out from the rest.
As you design your master bedroom consider hardwood (or bamboo a great eco-friendly alternative) flooring and large windows (don't forget the plantation shutters!). Depending on your style you may want to add decorative molding to the ceiling and walls to give it a luxurious feel. All of this can be done affordable and easily if you hire licensed professionals.
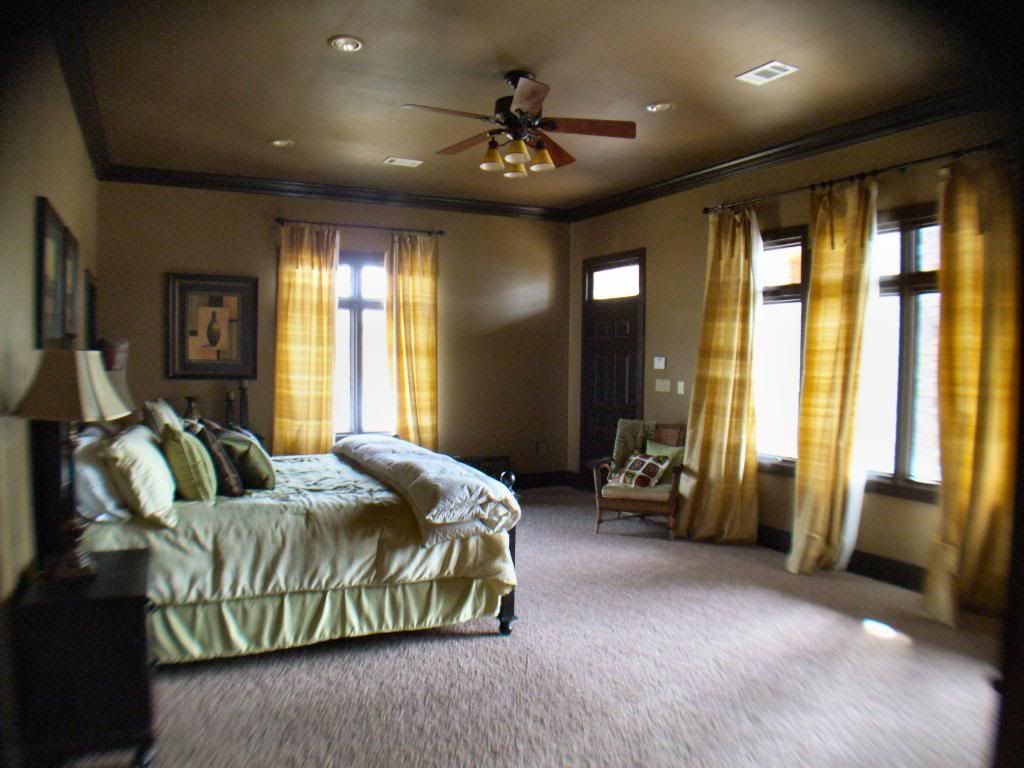
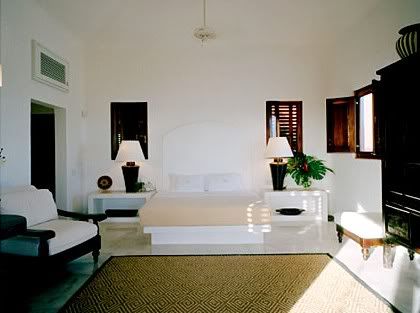
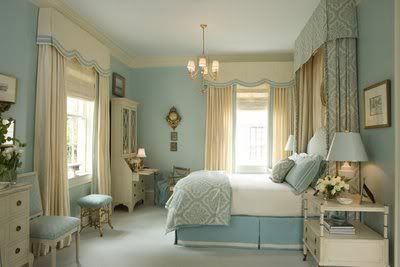
Here are a few master bedrooms I cam across and just love - I hope they inspire your new room. (And always remember to consult a licensed real estate agent, interior designer, and/or contractor before doing any home modifications. You wouldn't want to over renovate for your home, or create a “unsellable” home because of trendy decor)
Labels:
decor,
design,
do it yourself,
hgtv,
home improvements,
home staging,
interior design,
London,
master bedroom,
real estate,
uk
Monday, January 25, 2010
Wedding Table Tops That Inspire
Inspiration Flash: It's almost wedding season, are your tables ready??
Unfortunately, I did not make it to Las Vegas - but I did stay very busy here in town. In lieu of some crazy blog post about Vegas, I decided to bring to everyone's attention to the fact that wedding season is quickly upon us!
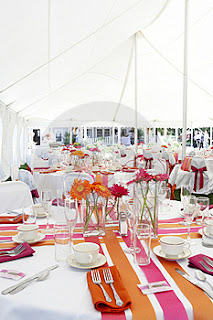
The spring will bring flowers, warmth and blushing brides. But.....have you thought about your table top decor for the wedding lunches, dinners, receptions or parties in midst of all the planning?? If not, please feel free to be inspired by a few things I came across when looking for inspiration! And always consult your designer, florist or wedding planner before attempting to do anything on your own!
Labels:
decor,
design,
interior design,
London,
table,
table settings,
uk,
weddings
Subscribe to:
Posts (Atom)
