Showing posts with label stencils. Show all posts

Thursday, March 4, 2010

Artist Spotlight: Henri de Toulouse-Lautrec

Artist Spotlight: Henri de Toulouse-Lautrec

If you were to only know one thing about me, then you should know I am a closet art "freak". I absolutely can't get enough of the post impressionistic art period.

I always wish I could have lived during the late 19th century in Paris. What an inspirational time it must have been, but of course also emotional. To have walked the streets of Monmartre and had a drink with Henri de Toulouse-Lautrec.

For some reason people seem to think Toulouse-Lautrec was born in Monmartre or that he was poor. But in fact it was the exact opposite. He was a Parisian aristocrat. I know what you're thinking - man, he had everything! To be at the top of the social world during Paris in the late 19th century - how lucky. But again, appearences aren't always what they seem.


Henri was born November 24, 1864 in Albi, France and was the son and heir of Comte Alphonse-Charles de Toulouse. He was also the last male heir to a family that dated back nearly 1,000 years. His father was very handsome and eccentric (aka a weirdo who was never there) and his mother was...overly protective of their only son (aka she has no life so he was always sick and weak as a child).


Henri broke his left leg when he was 12 and his right leg when he was 14 and neither healed properly so it stunted his growth. He continued to grow normally, except his legs.


Henri's one escape was his art. By the time he was 10 he began to develop his artistic skill, unfortunately a lot of it was due to the fact his mother always thought he was sick and he stayed inside a lot.


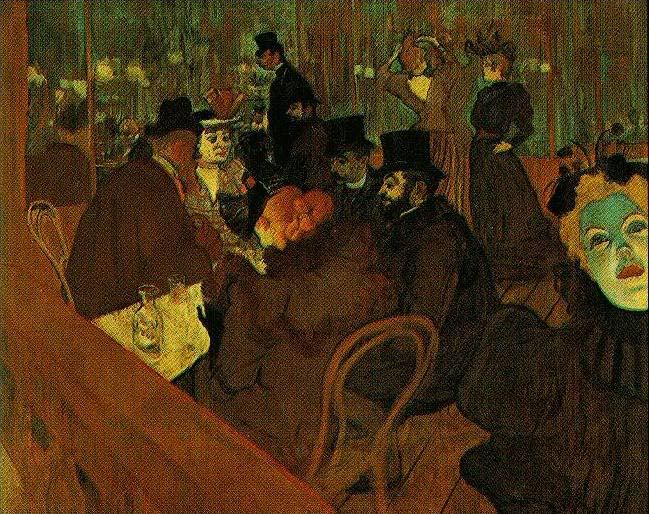
As he grew older he sought refuge from the torments of aristocratic society in Monmartre. He loved the bohemian lifestyle, the cabarets, the vibrant lights, action, and of course his ultimate undoing - alcohol.

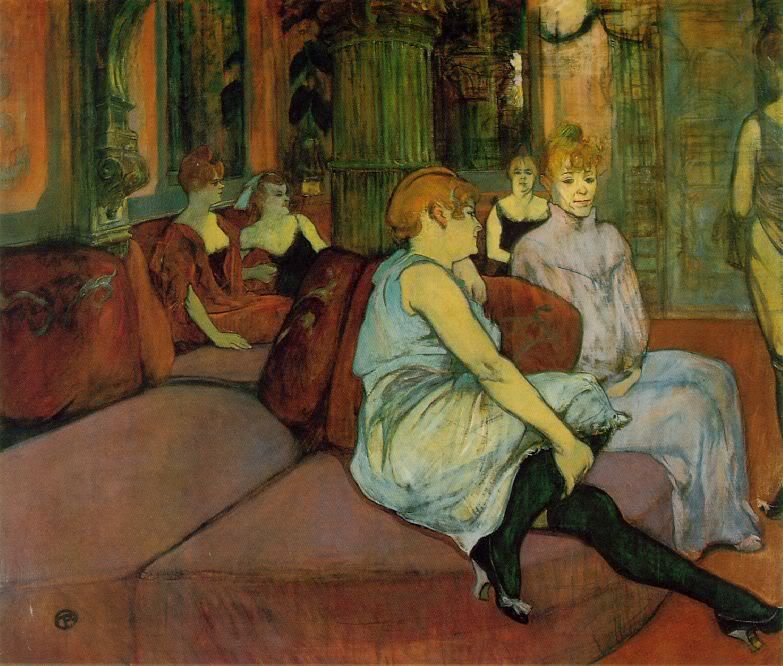
Many of his paintings reflect his actual experience from hanging out in nightclubs. He would sit and drink and chat all night, while drawing little sketches of what was going on around him. The next day he would take the sketches and elaborate them on canvas.


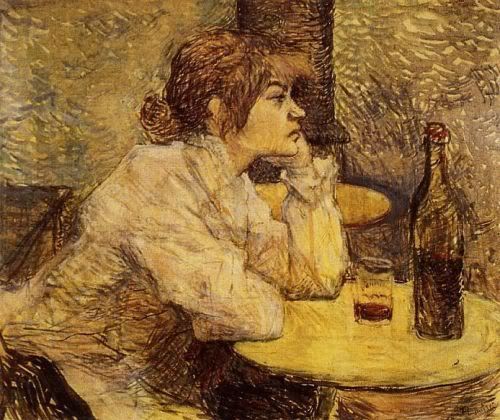
But Henri's only happy days were numbered in Paris. In the late 1800s he was temporarily put into a sanatorium for his alcoholic (and some would say crazy) behavior that he started to exhibit. Before I go further, please keep in mind 2 things: 1)they did not have hospitals like today, sanatorium's were common and really the only place for drug addicts to go and 2) he wasn't drinking just beer, he was drinking hardcore Absinthe and other hallucinogenic drinks that if drank heavily enough could have the ability to make you go insane.


He eventually was allowed to return to his mother's care and home and died September 9, 1901.


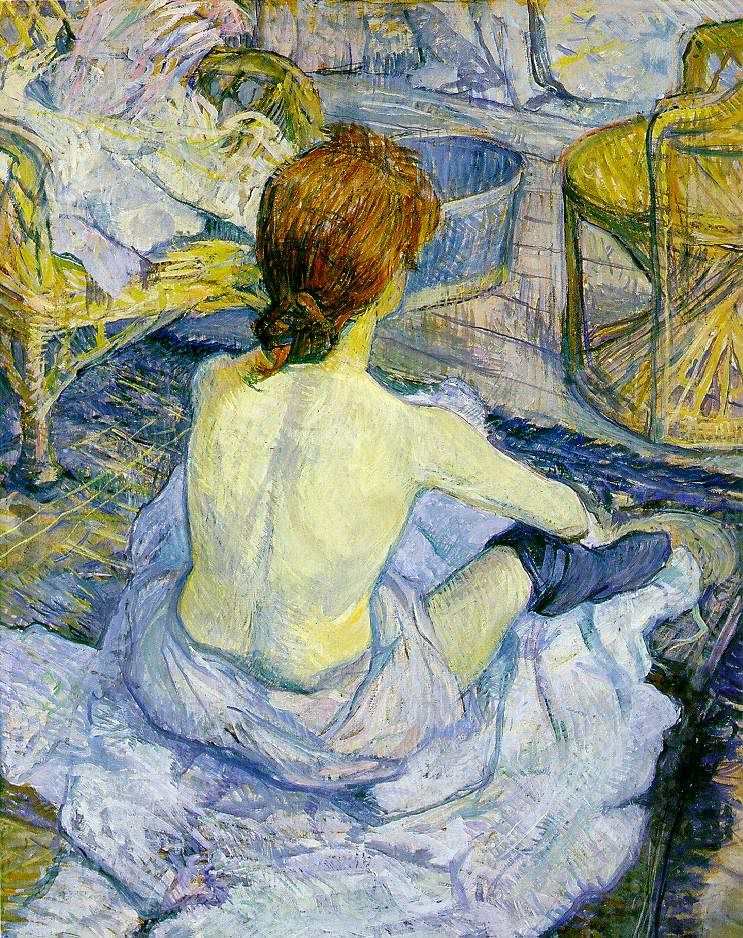
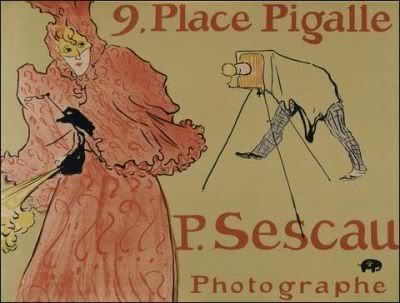
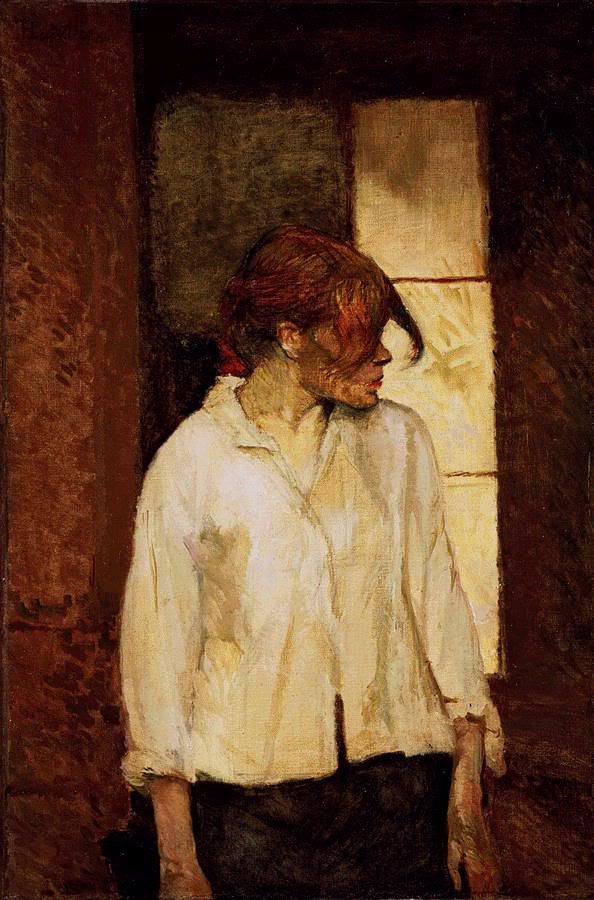
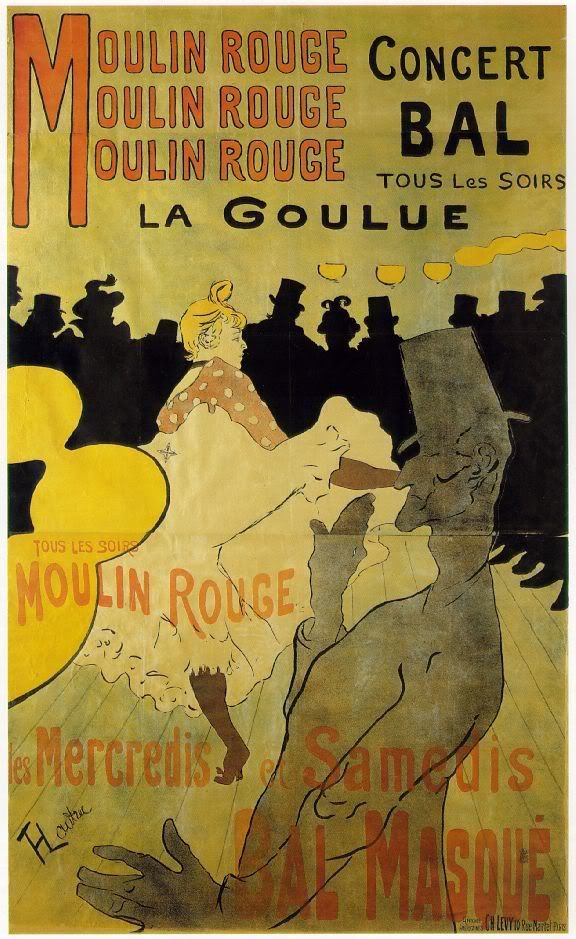
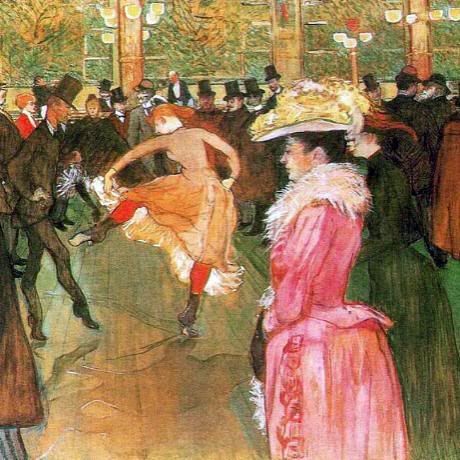
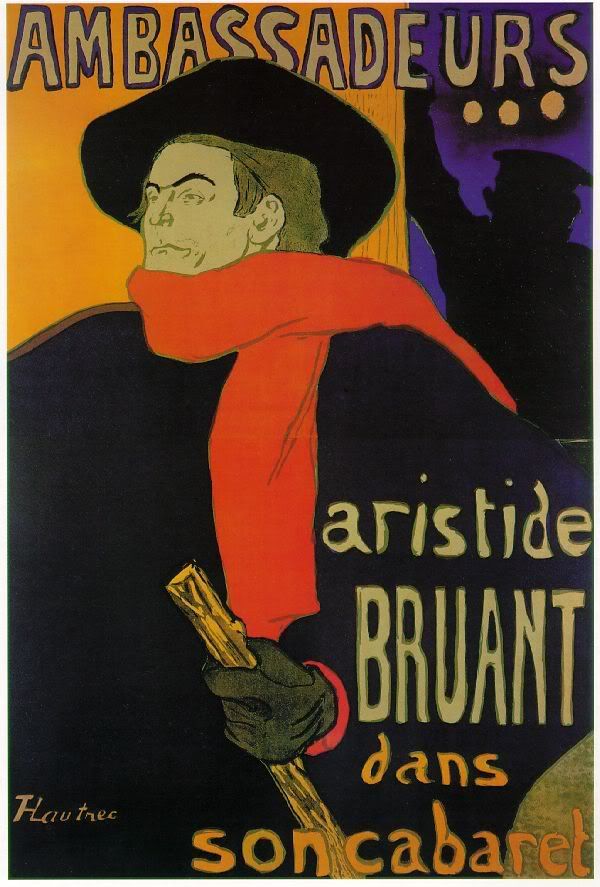
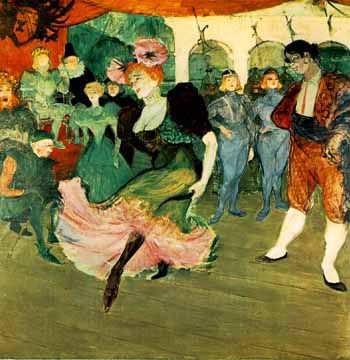
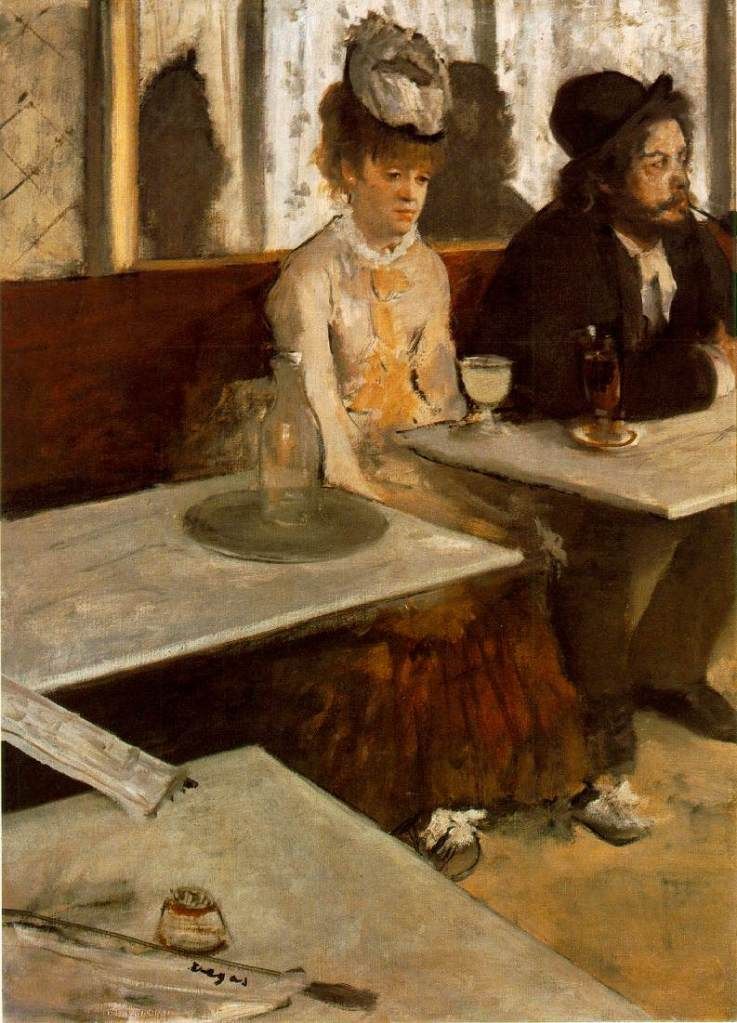
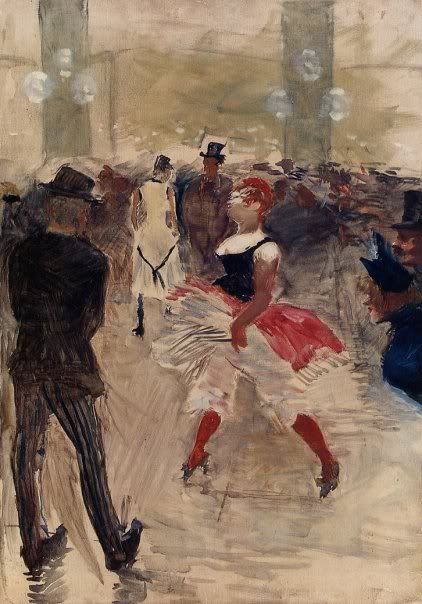
One of the reason's Toulouse is one of my top 3 favorite artists is because he is the father of modern graphic art. All of those really trippy 1960s peace and love posters can find their roots in his paintings. Plus, I don't know... there is just something beautiful about his art. I always like to think it's because you can see his soul in his art. Here are some of his paintings:









Saturday, January 30, 2010

Affordable Custom Concrete Stencils and Designs that WOW and How You Can Do It Youself

Interior Design: Beautiful Concrete Stencil Designs
Interior Design DIY: A overview of how to stencil concrete
------------------------------------------
Interior Design: Beautiful Concrete Stencil Designs

A few weeks ago I wrote about the beautiful homes in Mexico that had intricate molding and wainscoting that was actually painted (dyed) concrete. It was so amazing it really looked like the real thing - talk about some serious craftsmanship!

When I had some time to really think about it I realized that concrete is a fantastic idea for renovations (especially if you live in warm climates)! Concrete is earth and budget friendly and can make your home really dazzle and pop. It does require a little maintenance in the long run (as most things do), but overall it is a really affordable and easy to manage.

Stencils are made out of a heavy duty material and can come pre-designed or custom designed. If you Google concrete stencils many companies come up - always follow their instructions or have a licensed professional install it for you.

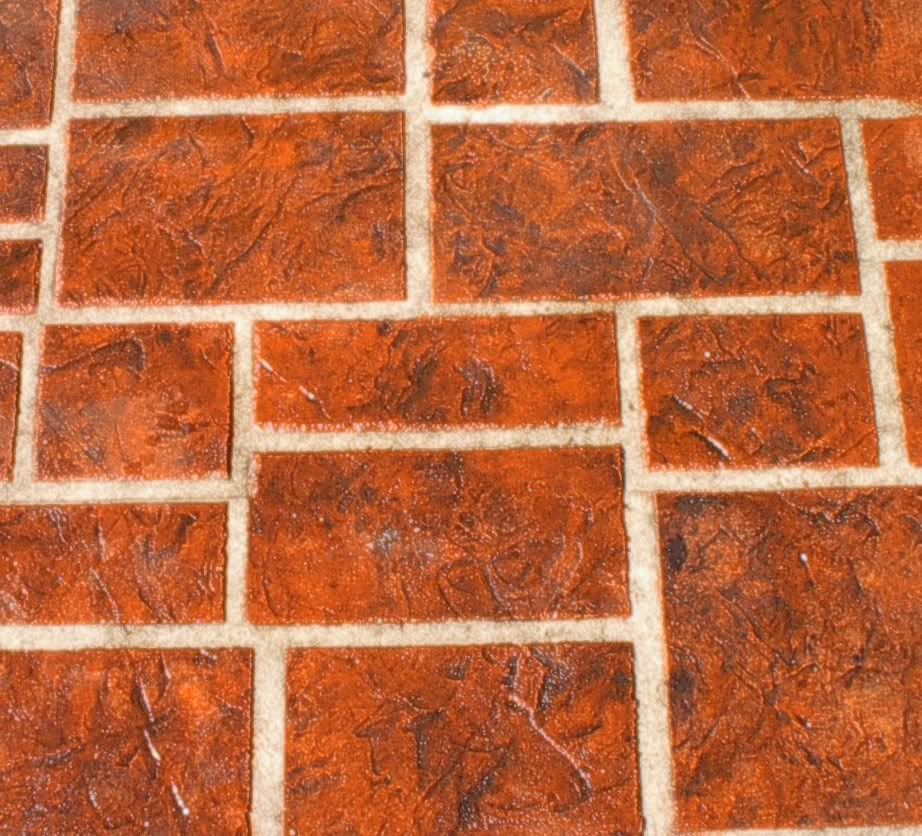
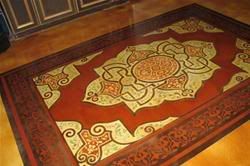
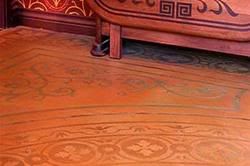
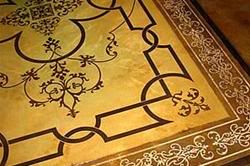
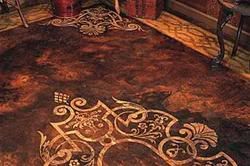
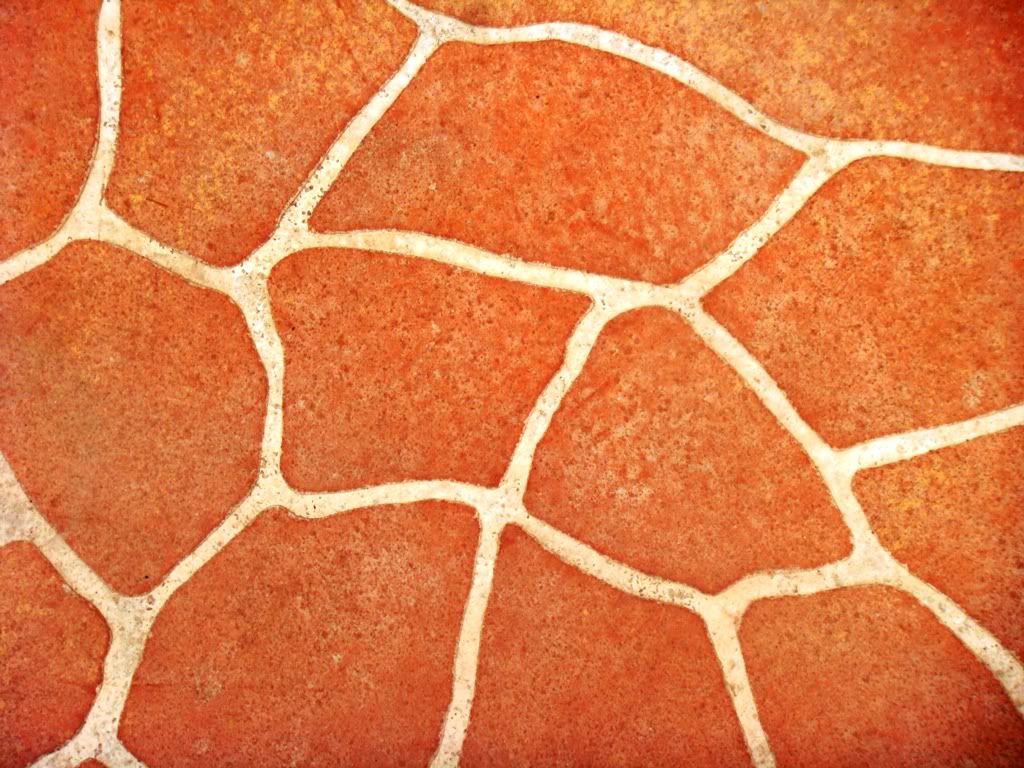
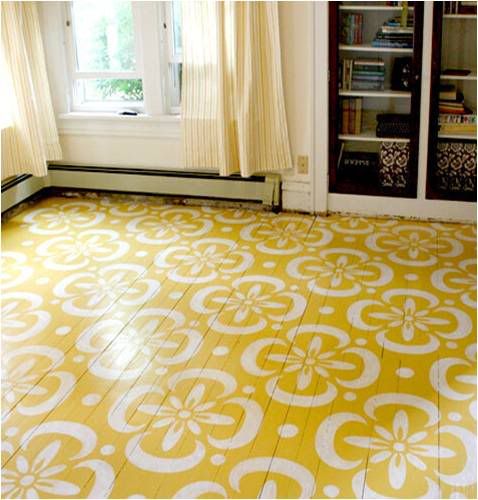
My favorite thing about concrete stencils is that they come in a lot of designs. They have some stencils that look like traditional materials such as brick or tile (think about your backyard concrete patio, now imagine if it was brick instead....wouldn't it look much nicer!) or they come as more decorative stencils that look like oriental rugs or wood flooring inlaid with tiles.

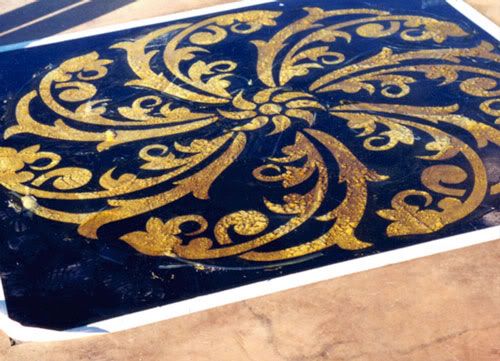
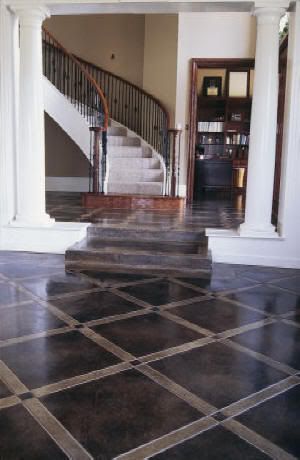
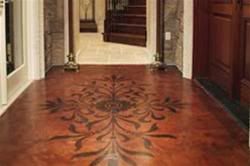
Here are some great examples and feel free to read more about concrete design at the Concrete Network: (and yes, I promise, all of these images are stenciled concrete!)


------------------------------------------------------
Interior Design DIY: A overview of how to stencil concrete

If you are interested in learning more about the process of concrete stenciling, or if you are interested in trying it yourself, here are step-by-step instructions - but always follow instructions from the company you bought your stencil from or consult a licensed contractor!

Things You'll Need:

    * bullfloat
    * stencil roller
    * concrete edger
    * scissors
    * concrete saw
    * power washer

Step 1 - Applying the stencils - After you pour the concrete, float and edge the slab in the usual manner and then place the stencils on the surface while the concrete is still wet but free of excessive bleed water. Placement requires two people, with one person holding the stencil roll while the other person holds the uncoiled end on the opposite side of the slab. Once the stencil is laid down atop the slab, it's plastered to the surface with a special stencil roller.

Step 2
- The stencil is placed and worked one strip at a time. Because the stencils are die cut, the strips must be aligned in a specific manner to ensure pattern continuity, similar to aligning strips of patterned wallpaper. After the entire slab is covered, you use a pair of scissors to trim the stencil to about 1/8 inch inside the form boards (this allows for the stencil to swell a bit). A bull float(a flat smooth float for smoothing concrete) is then used to stick down the edges.
  
Step 3 - Adding color -The next step is to hand spread color hardener onto the surface (at the manufacturer's recommended rate) and work it into the slab with a bullfloat. This process is best done immediately after stencil application, while the concrete surface still has enough moisture to be absorbed by the hardener.
 
Step 4 - With stone or brick stencil patterns, the use of a texture roller or seamless texture skins will give the surface a more realistic, slightly roughened profile. With tile patterns, there is no need to texture the slab, Instead, a trowel can be used to smooth over any imperfections.

Before texturing, a liquid or powdered antiquing release agent is applied to the surface. When the slab is firm enough to accept the roller's weight and still wet enough to receive the texture, you can begin to go over the slab with the roller. Where the roller creates depressions in the surface, the pigment leaves shadows that look like natural color variations. Manufacturers offer rollers with different textures to allow contractors to produce a variety of decorative effects.
 
Step 5 - As soon as the slab has been textured, it's time to remove the stencils. The last piece of stencil laid is removed first, with a person standing on either side of the slab and lifting the stencil straight up from the ends. After the stencil is completely clear of the surface, it's carried off to the side and disposed of.

Step 6 - The day after you pour, you can clean off the release agent, saw cut the control joints and seal the slab surface.

The next day, the release agent is swept from the slab.

Than you thoroughly clean the slab with a pressure washer

Saw crack control joints in larger areas such as driveways and patios

Apply concrete sealer and voila your beautiful finished product


How-to compliments of: e-How.com