Showing posts with label remodeling. Show all posts

Wednesday, February 17, 2010

New Trends in Kitchen Appliances......everything is digital!!

Interior Design: New Trends in Kitchen Appliances
---------------------------------------
New trends in kitchen appliances continue to thrill me. Everything is digitalized, sleek and designer yet functional. I know many professional cooks would disagree with some of the appliances I think are really cool for 2010, but keep in mind: the average person isn't a professional cook. Plus, these are appliances that will add to the value of your home, function amazingly well for the average cook and they help keep the style to the kitchen.

1. The ATAG induction stove (below): You are probably not too familiar with this digital stove top but it's ok it's from the UK. I put this in here because we will get it here in the USA in a little while, but this is a really cool stove to keep in mind. Not only is it digital, it's made of black vitroceramic glass, including powerful 3.7 kW zone, two 3.0 kW zones and auxiliary 2.2 kW zone. Main benefits and features include modern slide controls, automatic programmable cooking options, residual heat indicators for each zone, timers, child lock, pot/pan detectors and optional stainless steel trim.


2. The Whirlpool Combination Microwave SpeedCook Oven GH7208XRS (below):  Again, another ingenious appliance. With this combo microwave oven you can literally bake a cake, cook a steak, and steam food. This microwave is called a SpeedCook oven. It is a true convection oven, G2Max SpeedCook oven, microwave and steamer.


3. The Counter-Depth Side-By-Side Refrigerator with ave-Touch Controls (below): This is a great example of a upgraded refrigerator. This model has Wave-Touch controls (the digital display will fade once you are done setting the controls), Chill Zone Drawer (chilled air is vented directly into the drawer), glass shelves, Luxury-Glide Crispers (drawers that have controlled humidity to keep produce fresh), digital temperature controls, 9" tall water/ice dispenser (so there is plenty of room for you large containers and pitchers), Fast Ice option (produces ice extremely quickly), storage, air filters, water filters, and an alarm system that lets you know if you left the door open, the power went out, etc.


5. The EdgeStar 18 Bottle Wine Cooler Stores Different Varietals Within One Unit (below): A wine cooler is always a great extra in a kitchen if you have the room. This particular model is an 18 bottle dual zone wine cooler with thermoelectric cooling that keeps both red and white wine at optimal temperatures in separate compartments. It's also quiet, energy efficient, digital and about $194 USD.


These are just a few ideas of trends in kitchens for 2010. Always think of things you might like to find in a brand new kitchen. You can always add coffee makers, rice steamers, deep fryers, luxury stove hoods, and highly efficient dishwashers. Just keep in mind that people are looking for energy saving, sleek, new, and easy to use appliances that will last when redoing your kitchen.

Saturday, January 30, 2010

Affordable Custom Concrete Stencils and Designs that WOW and How You Can Do It Youself

Interior Design: Beautiful Concrete Stencil Designs
Interior Design DIY: A overview of how to stencil concrete
------------------------------------------
Interior Design: Beautiful Concrete Stencil Designs

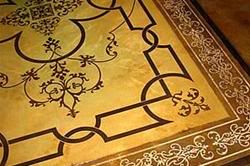
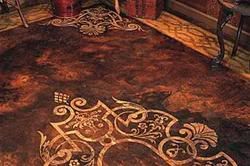
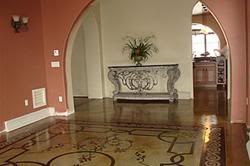
A few weeks ago I wrote about the beautiful homes in Mexico that had intricate molding and wainscoting that was actually painted (dyed) concrete. It was so amazing it really looked like the real thing - talk about some serious craftsmanship!

When I had some time to really think about it I realized that concrete is a fantastic idea for renovations (especially if you live in warm climates)! Concrete is earth and budget friendly and can make your home really dazzle and pop. It does require a little maintenance in the long run (as most things do), but overall it is a really affordable and easy to manage.

Stencils are made out of a heavy duty material and can come pre-designed or custom designed. If you Google concrete stencils many companies come up - always follow their instructions or have a licensed professional install it for you.

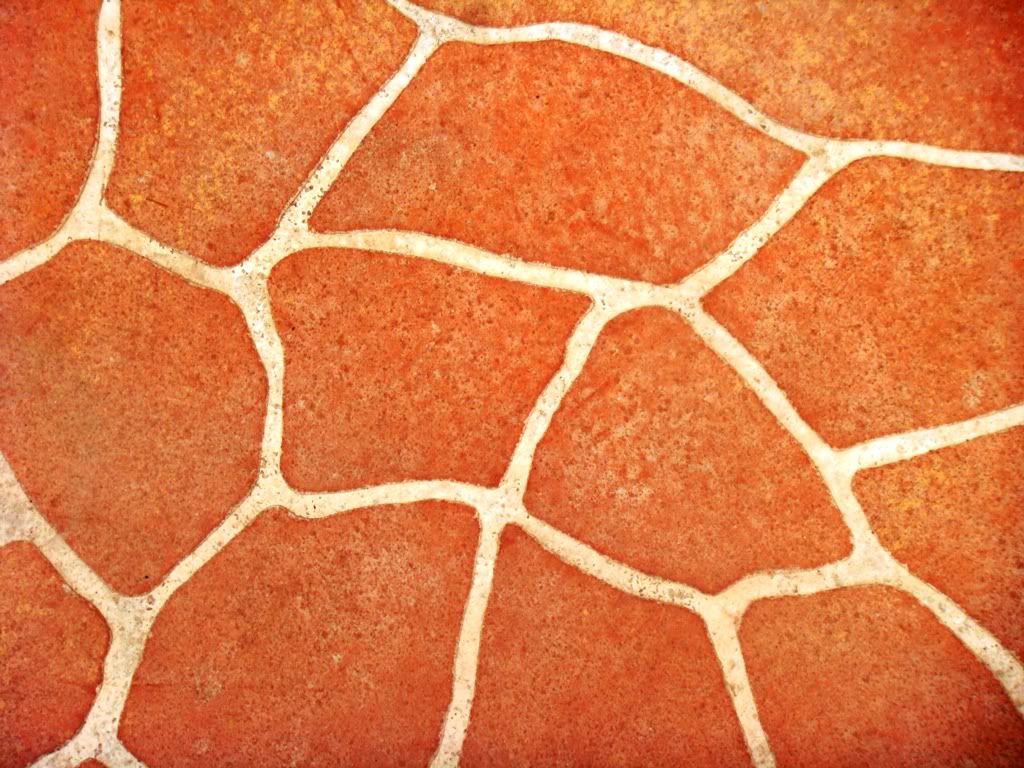
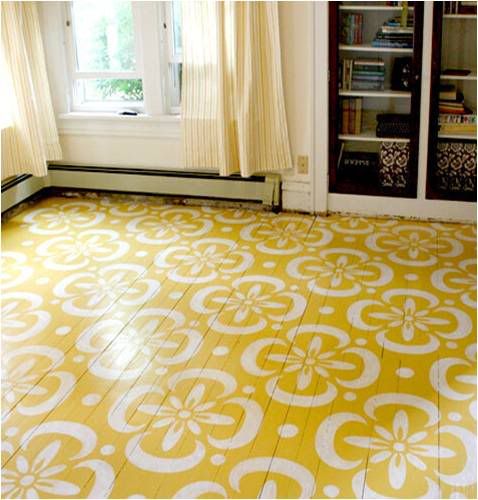
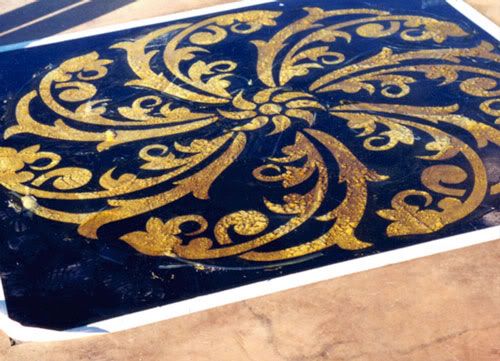
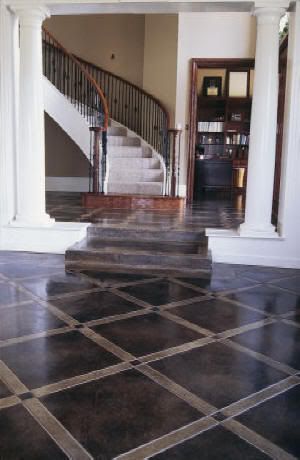
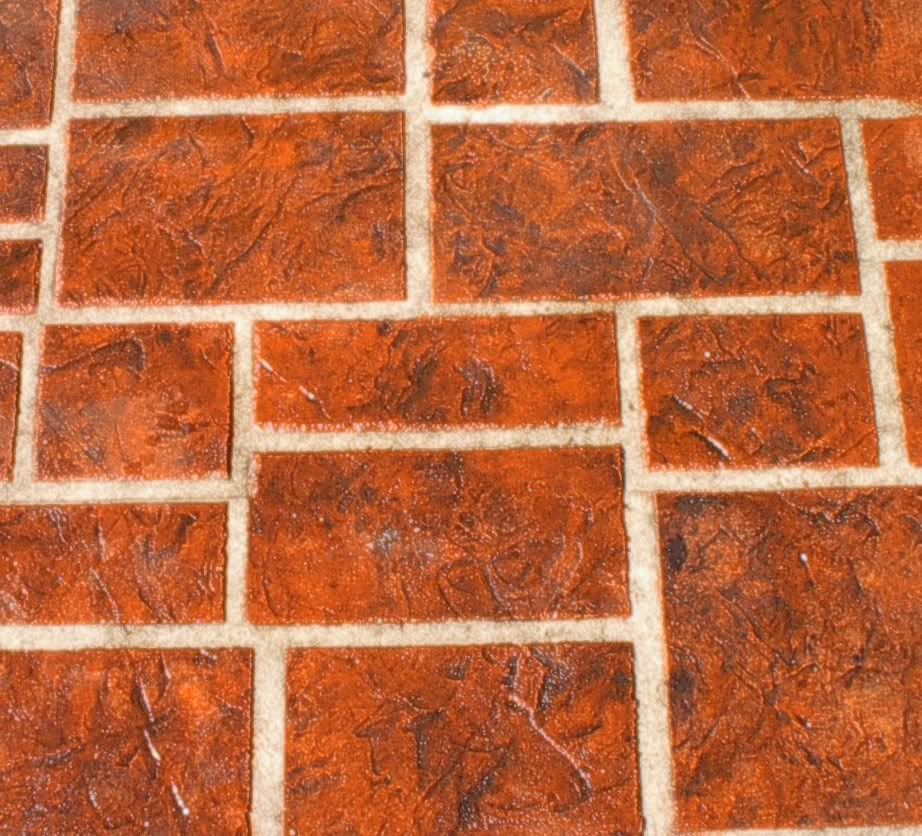
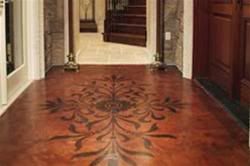
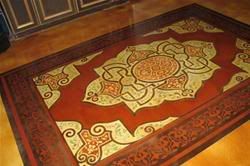
My favorite thing about concrete stencils is that they come in a lot of designs. They have some stencils that look like traditional materials such as brick or tile (think about your backyard concrete patio, now imagine if it was brick instead....wouldn't it look much nicer!) or they come as more decorative stencils that look like oriental rugs or wood flooring inlaid with tiles.

Here are some great examples and feel free to read more about concrete design at the Concrete Network: (and yes, I promise, all of these images are stenciled concrete!)


------------------------------------------------------
Interior Design DIY: A overview of how to stencil concrete

If you are interested in learning more about the process of concrete stenciling, or if you are interested in trying it yourself, here are step-by-step instructions - but always follow instructions from the company you bought your stencil from or consult a licensed contractor!

Things You'll Need:

    * bullfloat
    * stencil roller
    * concrete edger
    * scissors
    * concrete saw
    * power washer

Step 1 - Applying the stencils - After you pour the concrete, float and edge the slab in the usual manner and then place the stencils on the surface while the concrete is still wet but free of excessive bleed water. Placement requires two people, with one person holding the stencil roll while the other person holds the uncoiled end on the opposite side of the slab. Once the stencil is laid down atop the slab, it's plastered to the surface with a special stencil roller.

Step 2
- The stencil is placed and worked one strip at a time. Because the stencils are die cut, the strips must be aligned in a specific manner to ensure pattern continuity, similar to aligning strips of patterned wallpaper. After the entire slab is covered, you use a pair of scissors to trim the stencil to about 1/8 inch inside the form boards (this allows for the stencil to swell a bit). A bull float(a flat smooth float for smoothing concrete) is then used to stick down the edges.
  
Step 3 - Adding color -The next step is to hand spread color hardener onto the surface (at the manufacturer's recommended rate) and work it into the slab with a bullfloat. This process is best done immediately after stencil application, while the concrete surface still has enough moisture to be absorbed by the hardener.
 
Step 4 - With stone or brick stencil patterns, the use of a texture roller or seamless texture skins will give the surface a more realistic, slightly roughened profile. With tile patterns, there is no need to texture the slab, Instead, a trowel can be used to smooth over any imperfections.

Before texturing, a liquid or powdered antiquing release agent is applied to the surface. When the slab is firm enough to accept the roller's weight and still wet enough to receive the texture, you can begin to go over the slab with the roller. Where the roller creates depressions in the surface, the pigment leaves shadows that look like natural color variations. Manufacturers offer rollers with different textures to allow contractors to produce a variety of decorative effects.
 
Step 5 - As soon as the slab has been textured, it's time to remove the stencils. The last piece of stencil laid is removed first, with a person standing on either side of the slab and lifting the stencil straight up from the ends. After the stencil is completely clear of the surface, it's carried off to the side and disposed of.

Step 6 - The day after you pour, you can clean off the release agent, saw cut the control joints and seal the slab surface.

The next day, the release agent is swept from the slab.

Than you thoroughly clean the slab with a pressure washer

Saw crack control joints in larger areas such as driveways and patios

Apply concrete sealer and voila your beautiful finished product


How-to compliments of: e-How.com
 

Monday, January 18, 2010

Fresh, fun and funky - Home Accents that Wow

Interior Design: Home Accent Pieces

I was looking around for some interesting home accent pieces and came across these. I think, depending on the room, the more fun and funky the accent - the better. But don't worry - you don't have to go funky to look chic! If you like these items, a great place to start is mydeco.com


Friday, January 15, 2010

Tufted and Upholstered Headboard Inspirations....and then how to make one yourself for a great DIY project!

Interior Design: Tufted and Upholstered Headboards

Interior Design How-To: Tufted Headboards for Beds and Wall Decor
---------------------------------------------
Interior Design: Tufted and Upholstered Headboards

I just love upholstered and tufted headboards. Here are a few and I hope they inspire you as much as they inspired me.


---------------------------------------------
Interior Design How-To: Tufted Headboards for Beds and Wall Decor

Tufted and upholstered headboards for beds and on walls are very popular right now. If you can't afford to purchase a new one in the store, you might consider making one yourself. You can use your old headboard or find a used one at the local antique or pawn shop, or build one using lumber from your local hardware store.


Tools and Materials:
3/4” medium-density fiberboard (MDF) 54” x 48”
1/4” MDF trim
3-inch thick upholstery foam
batting
Brad nailer and 1-3/8” pin nails
scissors
wood glue
fabric
button making kit
upholstery needle and thread
pneumatic upholstery stapler and staples
table saw and miter saw
drywall square
screw gun
1/2” drill bit
measuring tape
safety glasses

Steps:
1. On a table saw, cut the MDF to the size of your headboard. Cut the trim to fit around the perimeter of the headboard to give it more strength.

2. Attach the trim along the edges of the MDF using wood glue and pin nails.

3. Starting 6 inches up from the longer side of the MDF, mark out a grid for the buttons. We spaced ours every 12 inches so we’ll have 16 evenly spaced buttons.

4. Using a 1/2” drill bit, drill holes at the marks for each of the buttons.

5. Cut the upholstery foam just larger than the headboard. Lay the foam on a clean work surface then stack two layers of batting on top of it. The batting should hang off the foam by about a foot all the way around. Drape the fabric over the batting. Flip all three layers upside down and lay the MDF down, centered on top of the layers (trim side up).

6. Working from opposite corners, pull the fabric taught and secure it to the MDF trim with upholstery stapes. Continue securing the fabric all the way around the trim. Cut excess fabric with scissors.

7. Follow the manufacturer’s instructions on your button kit to create the buttons.

8. Thread a large upholstery needle and punch it through the hole in the back of the headboard. Thread a button onto the needle and punch it back through the hole. Leave the thread extra long and cut it. Repeat this with all of your buttons.

9. Take the excess thread hanging off of the back of the headboard, pull it taught. Pull it slowly so as not to break the thread or damage the fabric. Secure the thread with an upholstery staple. Repeat the process for all the buttons. Check the front of the headboard periodically to ensure that the tufts are all equal depth.

How-to courtesy of: HGTV