Showing posts with label Bath. Show all posts

Thursday, March 4, 2010

Artist Spotlight: Henri de Toulouse-Lautrec

Artist Spotlight: Henri de Toulouse-Lautrec

If you were to only know one thing about me, then you should know I am a closet art "freak". I absolutely can't get enough of the post impressionistic art period.

I always wish I could have lived during the late 19th century in Paris. What an inspirational time it must have been, but of course also emotional. To have walked the streets of Monmartre and had a drink with Henri de Toulouse-Lautrec.

For some reason people seem to think Toulouse-Lautrec was born in Monmartre or that he was poor. But in fact it was the exact opposite. He was a Parisian aristocrat. I know what you're thinking - man, he had everything! To be at the top of the social world during Paris in the late 19th century - how lucky. But again, appearences aren't always what they seem.


Henri was born November 24, 1864 in Albi, France and was the son and heir of Comte Alphonse-Charles de Toulouse. He was also the last male heir to a family that dated back nearly 1,000 years. His father was very handsome and eccentric (aka a weirdo who was never there) and his mother was...overly protective of their only son (aka she has no life so he was always sick and weak as a child).


Henri broke his left leg when he was 12 and his right leg when he was 14 and neither healed properly so it stunted his growth. He continued to grow normally, except his legs.


Henri's one escape was his art. By the time he was 10 he began to develop his artistic skill, unfortunately a lot of it was due to the fact his mother always thought he was sick and he stayed inside a lot.


As he grew older he sought refuge from the torments of aristocratic society in Monmartre. He loved the bohemian lifestyle, the cabarets, the vibrant lights, action, and of course his ultimate undoing - alcohol.

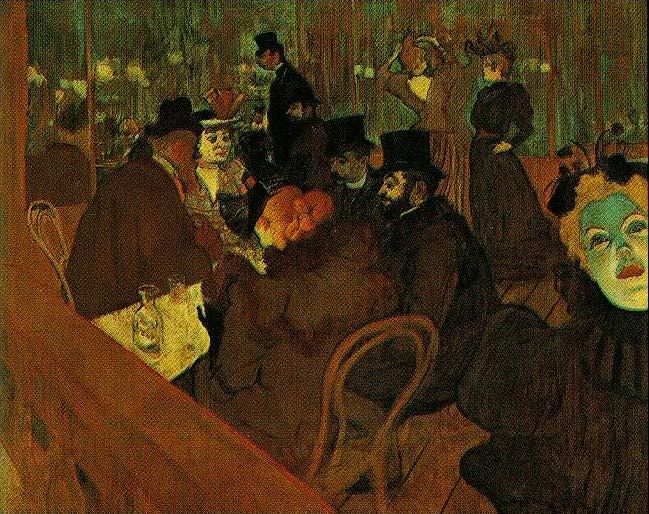
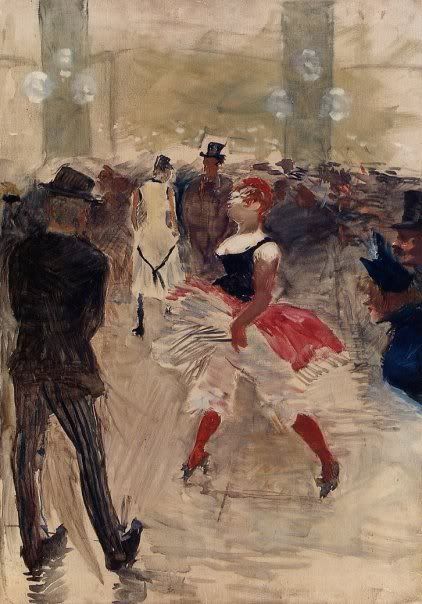
Many of his paintings reflect his actual experience from hanging out in nightclubs. He would sit and drink and chat all night, while drawing little sketches of what was going on around him. The next day he would take the sketches and elaborate them on canvas.


But Henri's only happy days were numbered in Paris. In the late 1800s he was temporarily put into a sanatorium for his alcoholic (and some would say crazy) behavior that he started to exhibit. Before I go further, please keep in mind 2 things: 1)they did not have hospitals like today, sanatorium's were common and really the only place for drug addicts to go and 2) he wasn't drinking just beer, he was drinking hardcore Absinthe and other hallucinogenic drinks that if drank heavily enough could have the ability to make you go insane.


He eventually was allowed to return to his mother's care and home and died September 9, 1901.


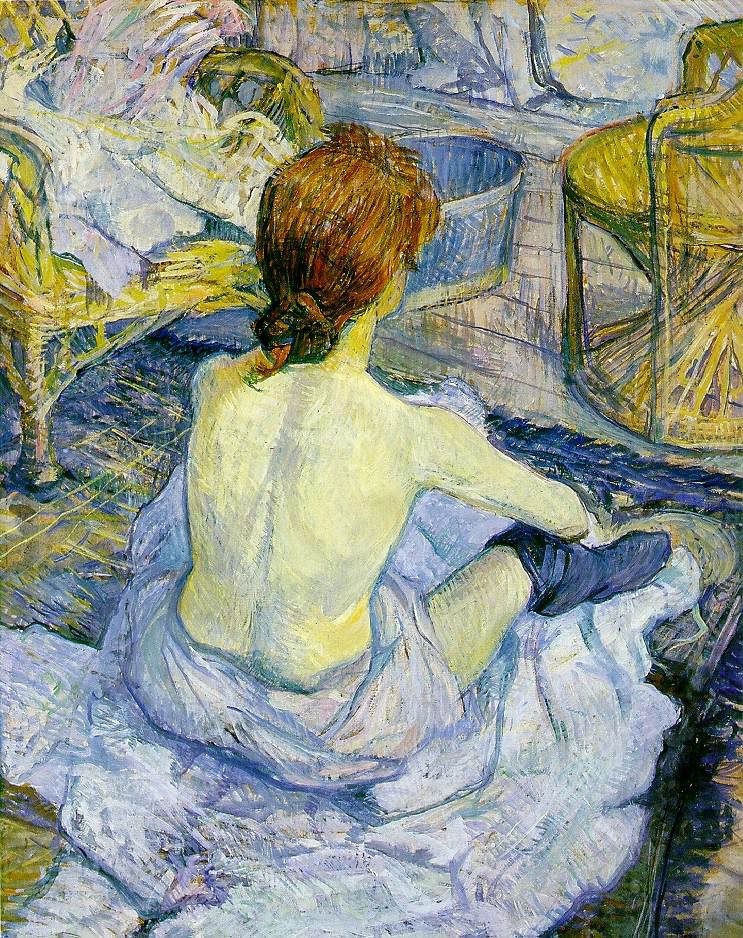
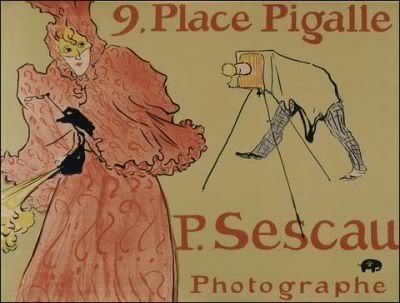
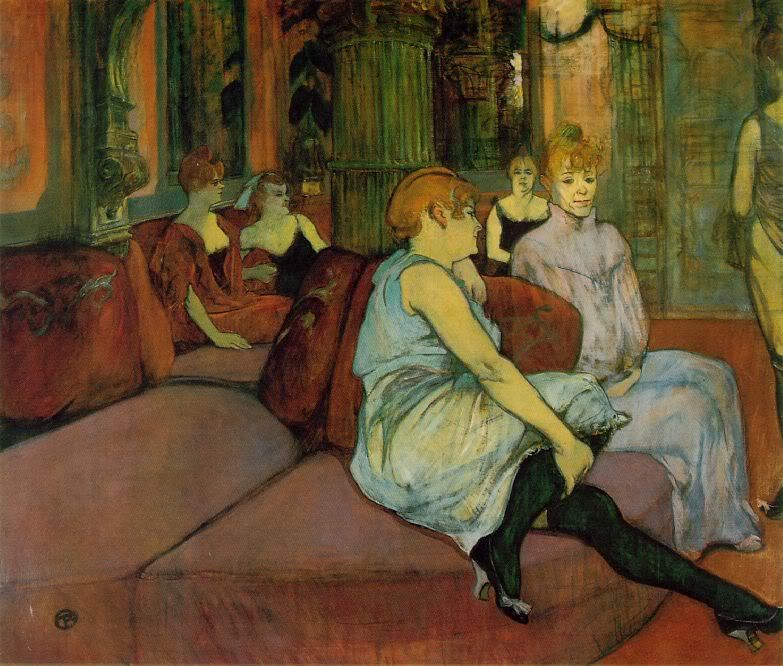
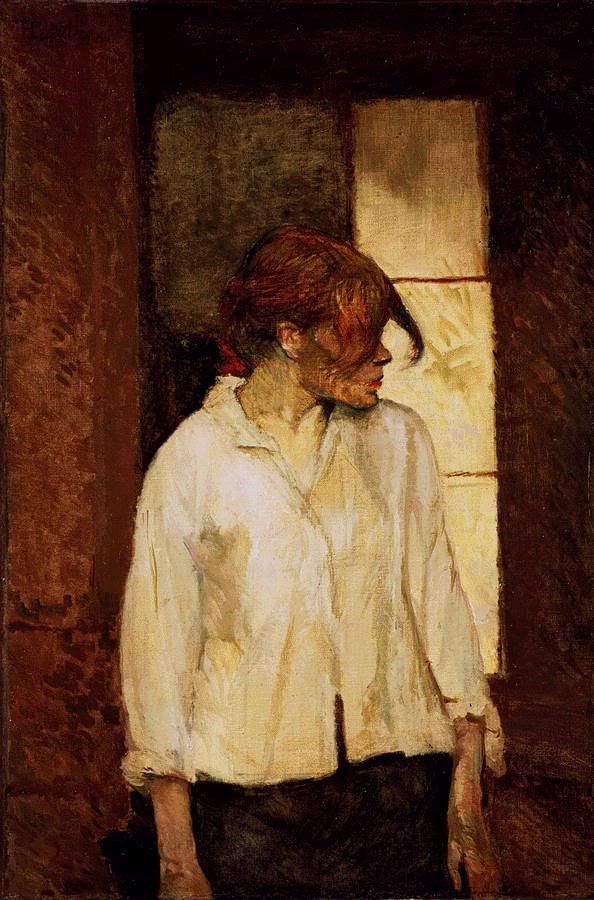
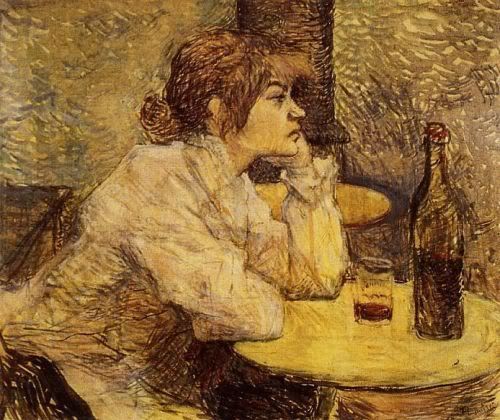
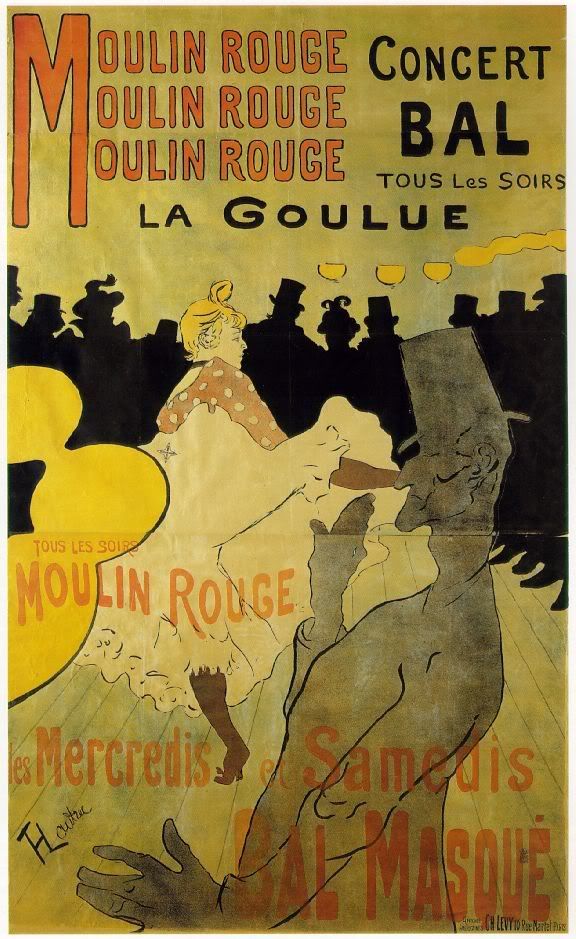
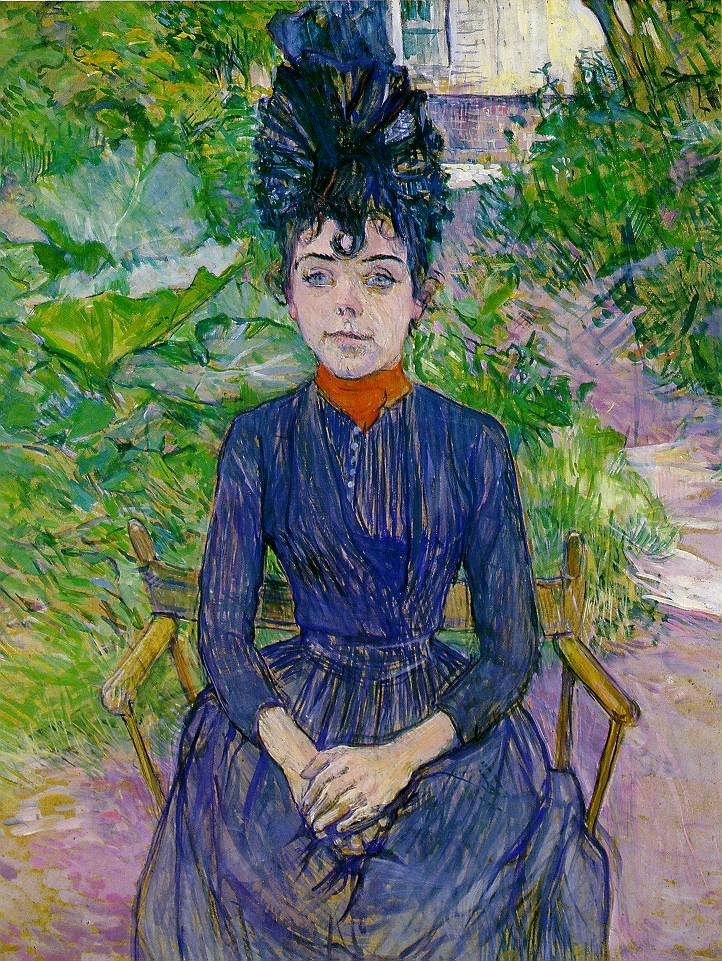
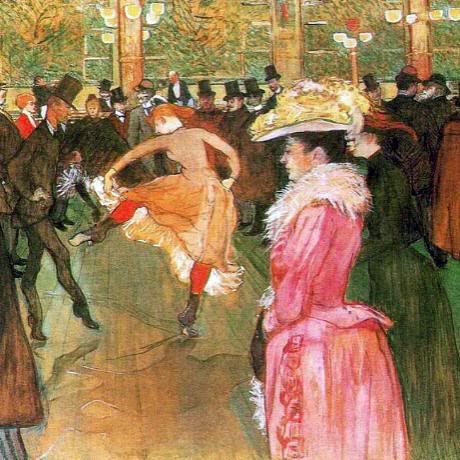
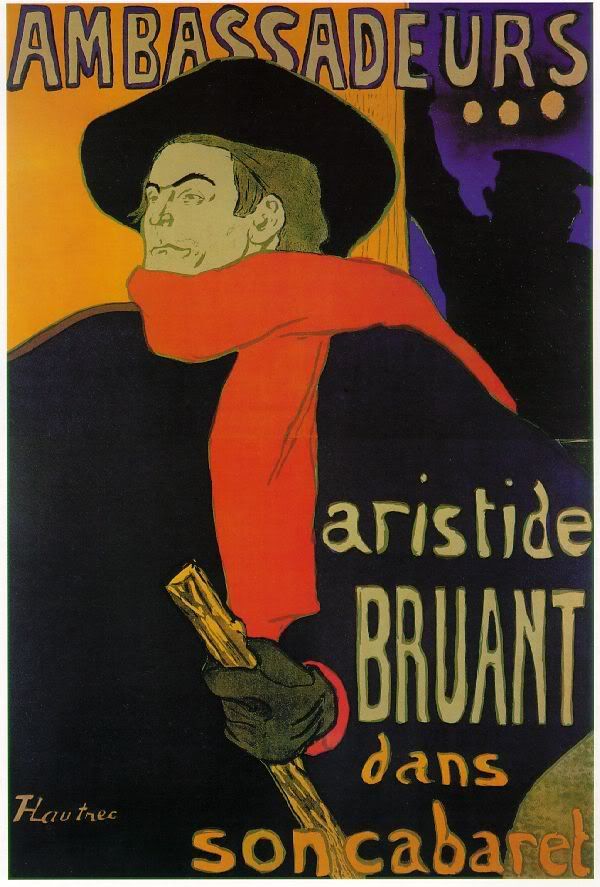
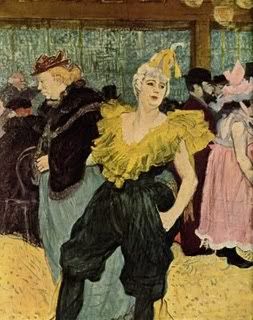
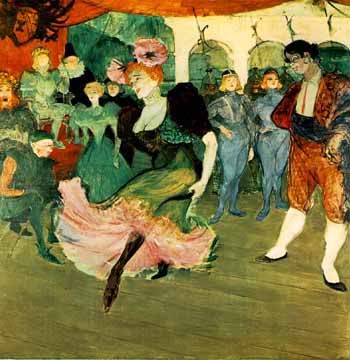
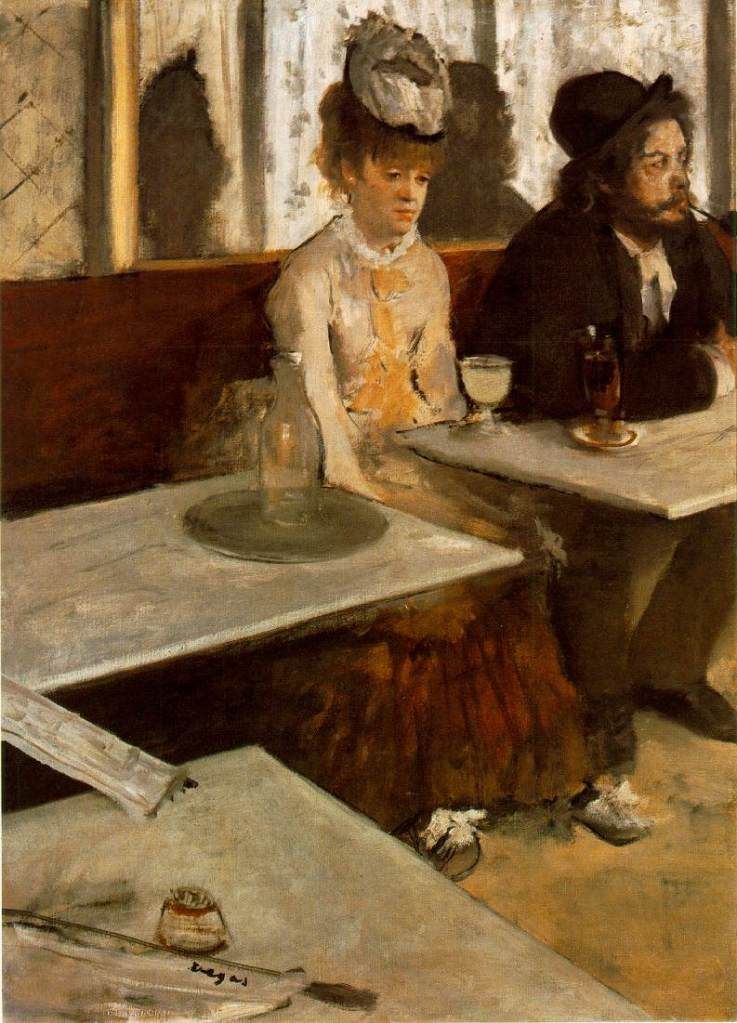
One of the reason's Toulouse is one of my top 3 favorite artists is because he is the father of modern graphic art. All of those really trippy 1960s peace and love posters can find their roots in his paintings. Plus, I don't know... there is just something beautiful about his art. I always like to think it's because you can see his soul in his art. Here are some of his paintings:







Wednesday, March 3, 2010

Design Inspiration: Unique Shampoo Bottles, pretty slick - check them out!

Design Inspiration: Unique Shampoo Bottles, pretty slick

Traditional shampoo bottles are fairly plain. But what happens when a designer lands a bid to design a very unique, marketable bottle? A wow factor that is over the top......not to mention inspirational.

I went online to locate some cool shampoo bottles and here is what I came up with - how cool are these? Anyhow - they helped inspire some marketing designs I was working on, so I thought I would share. Enjoy!


Friday, January 15, 2010

Tufted and Upholstered Headboard Inspirations....and then how to make one yourself for a great DIY project!

Interior Design: Tufted and Upholstered Headboards

Interior Design How-To: Tufted Headboards for Beds and Wall Decor
---------------------------------------------
Interior Design: Tufted and Upholstered Headboards

I just love upholstered and tufted headboards. Here are a few and I hope they inspire you as much as they inspired me.


---------------------------------------------
Interior Design How-To: Tufted Headboards for Beds and Wall Decor

Tufted and upholstered headboards for beds and on walls are very popular right now. If you can't afford to purchase a new one in the store, you might consider making one yourself. You can use your old headboard or find a used one at the local antique or pawn shop, or build one using lumber from your local hardware store.


Tools and Materials:
3/4” medium-density fiberboard (MDF) 54” x 48”
1/4” MDF trim
3-inch thick upholstery foam
batting
Brad nailer and 1-3/8” pin nails
scissors
wood glue
fabric
button making kit
upholstery needle and thread
pneumatic upholstery stapler and staples
table saw and miter saw
drywall square
screw gun
1/2” drill bit
measuring tape
safety glasses

Steps:
1. On a table saw, cut the MDF to the size of your headboard. Cut the trim to fit around the perimeter of the headboard to give it more strength.

2. Attach the trim along the edges of the MDF using wood glue and pin nails.

3. Starting 6 inches up from the longer side of the MDF, mark out a grid for the buttons. We spaced ours every 12 inches so we’ll have 16 evenly spaced buttons.

4. Using a 1/2” drill bit, drill holes at the marks for each of the buttons.

5. Cut the upholstery foam just larger than the headboard. Lay the foam on a clean work surface then stack two layers of batting on top of it. The batting should hang off the foam by about a foot all the way around. Drape the fabric over the batting. Flip all three layers upside down and lay the MDF down, centered on top of the layers (trim side up).

6. Working from opposite corners, pull the fabric taught and secure it to the MDF trim with upholstery stapes. Continue securing the fabric all the way around the trim. Cut excess fabric with scissors.

7. Follow the manufacturer’s instructions on your button kit to create the buttons.

8. Thread a large upholstery needle and punch it through the hole in the back of the headboard. Thread a button onto the needle and punch it back through the hole. Leave the thread extra long and cut it. Repeat this with all of your buttons.

9. Take the excess thread hanging off of the back of the headboard, pull it taught. Pull it slowly so as not to break the thread or damage the fabric. Secure the thread with an upholstery staple. Repeat the process for all the buttons. Check the front of the headboard periodically to ensure that the tufts are all equal depth.

How-to courtesy of: HGTV